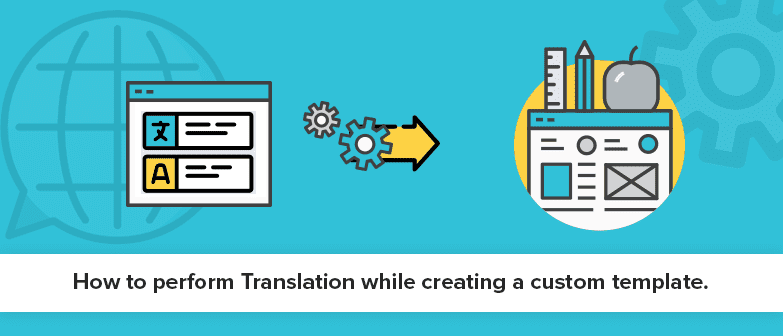
You can easily perform translation while creating a custom template by following these simple steps.
1. Convert the layout
The layout is converted into HTML code.
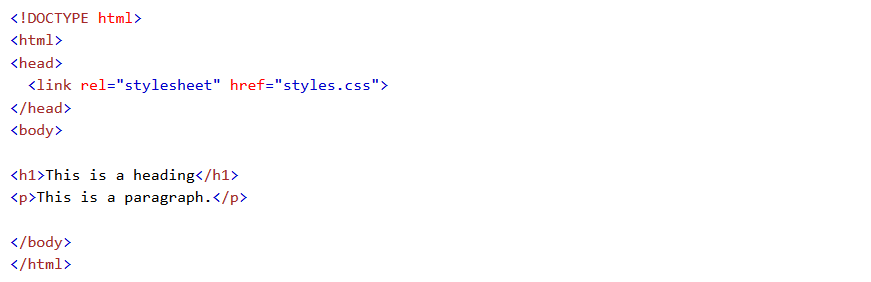
This is an example to show how the layout is converted into HTML.
2. Creating page and File
This is a three step process. Here, you are creating a new PHP page and PHP & TPL file. The different steps to create the files are explained as follows.
Creating the PHP page
Create a PHP file that the users are going to browse (for examples create the page with the name Custom page) and upload it to the root directory of your Prestashop ecommerce site using any of your preferred FTP clients.
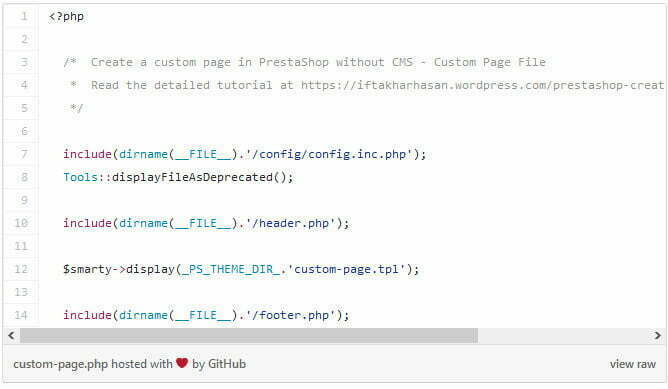
This is an example explaining how the code can be inserted in the file.
Creating the PHP controller file
Create a controller for the PHP page with the same name (Custom page) of the PHP page and upload it to /controllers/front directory of your Prestashop site.
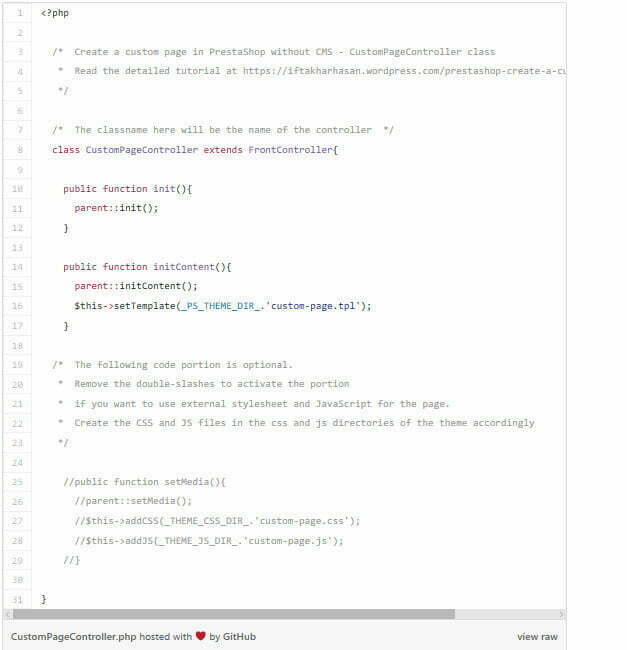
This image shows an idea about how the codes will be placed inside the PHP controller file.
Creating the TPL file
Create a TPL file for the page with same name (Custom page) to match the PHP & Controller file and upload it to the active theme directory of your Prestashop site.
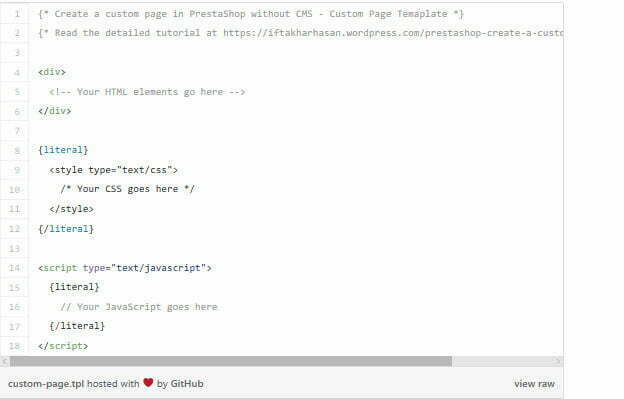
The example image shows you how the code will be inside the file.
Once you create the files, your custom template will be created and you can choose that template. The create template can be selected by going into Preference -> SEO & URLs.
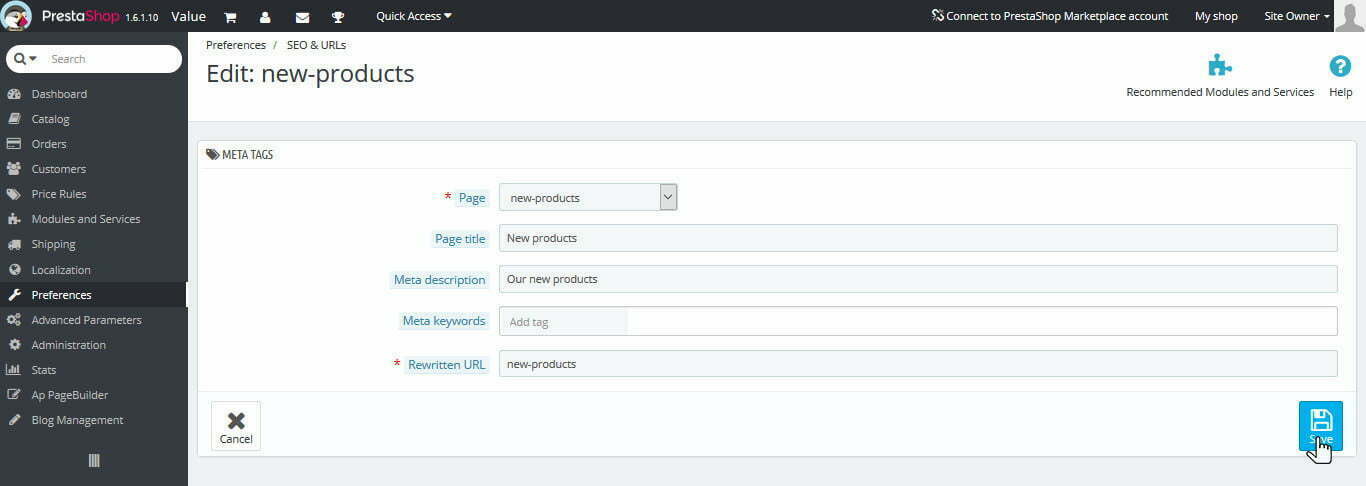
You can now choose the created file and edit it.
Note: Sometimes the created custom template will not be shown. If that problem occurs, just clear the cache memory. This will help you to show the created custom template.
3. Adding code to the text, that has to be translated
The code that is used to perform the translation is: {l s=”}. The text that has to be translated is given within the quotes.

This image gives you a clear idea about the place, where the text has to be included.
Once you give the text and save it, the saved text will be added to the front office. Now, go to the front office translation page and choose the template and select the language. The chosen template will be now translated.
Click here to create your Prestashop Ecommerce Store.

Leave a Reply